Tag Archives: DIY

River Rock is HEAVY AF

Yesterday was dedicated to moving and cutting a bunch of heavy-ass used railroad ties to create a border for our backyard fire pit area. Today, we had the pleasure of loading, unloading, and spreading a whopping 2,880 pounds of gravel. I feel like I said that way too fast… Let’s revisit what I just said with a bit more gravity. You see, we don’t have a full-size truck. So, that means we had to actually load each of the 60 48-pound bags by hand. Then, we drove to the house and loaded them into a wheelbarrow 5 at a time and moved them to the backyard.

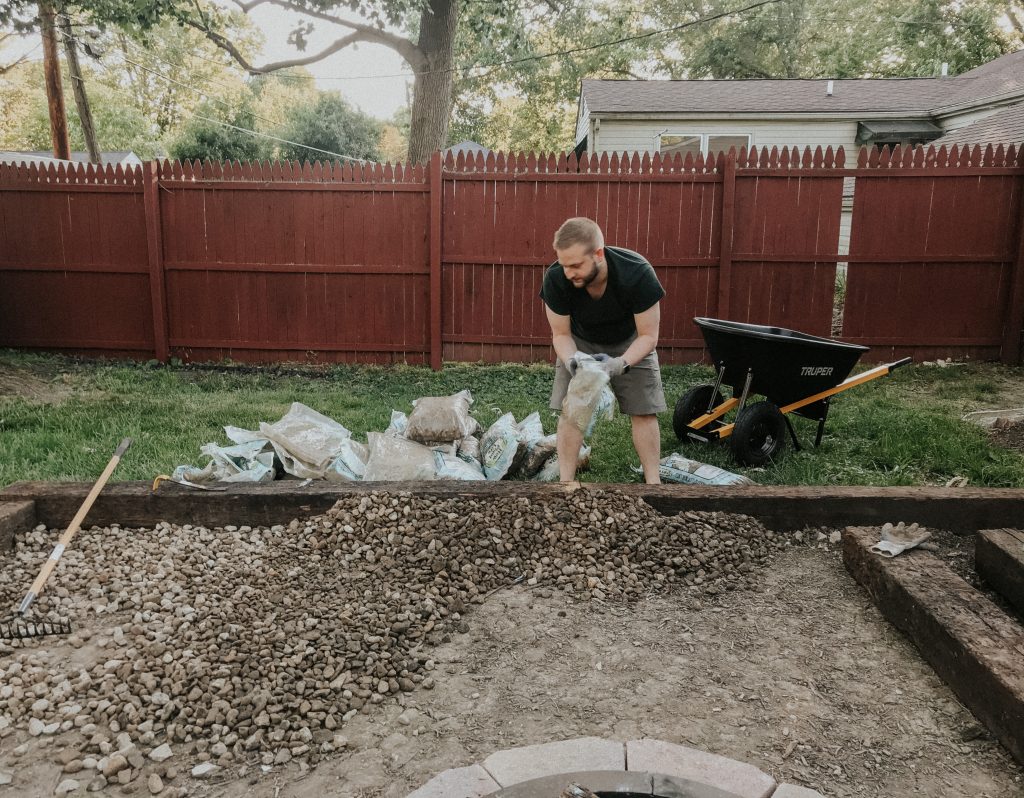
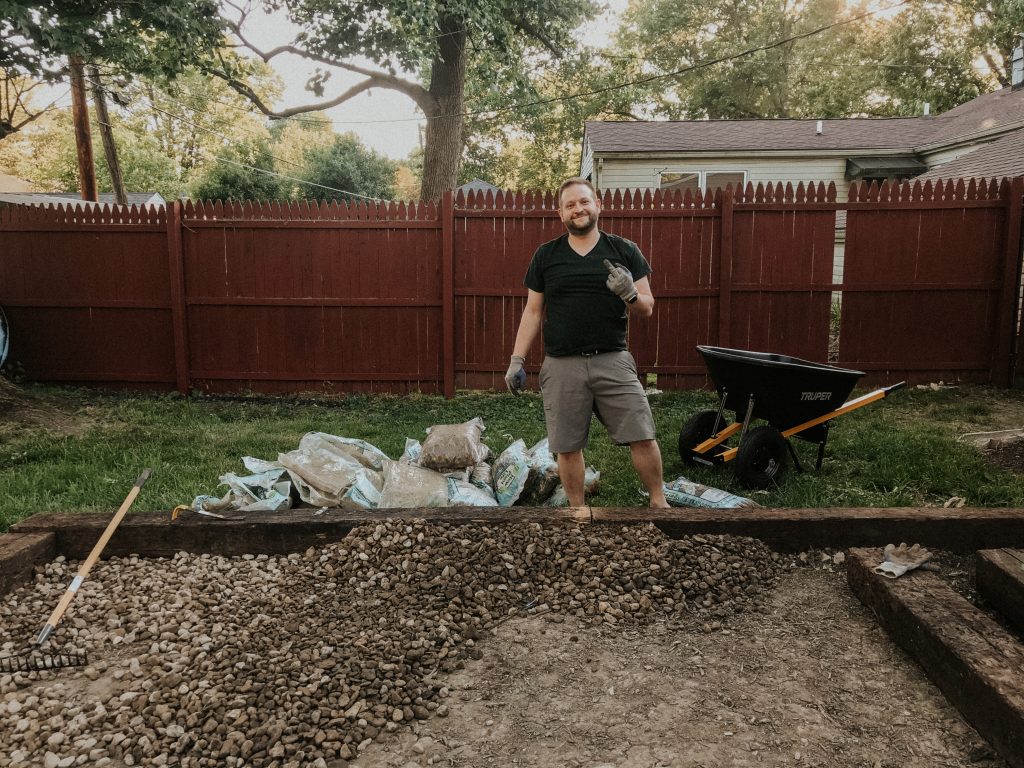
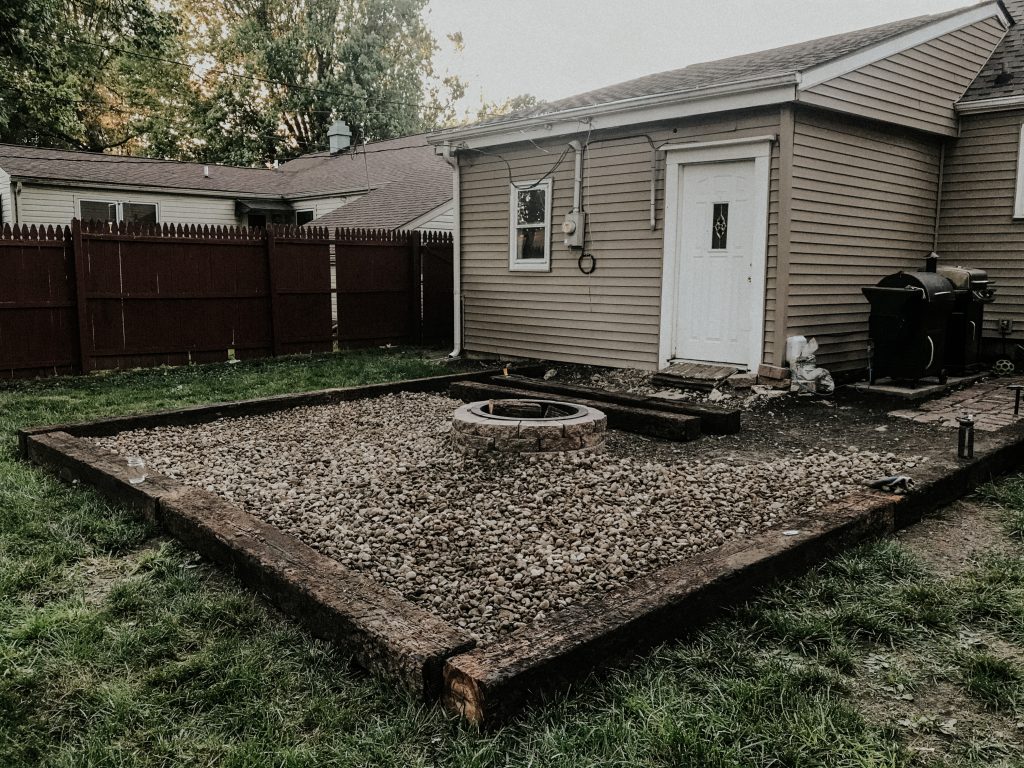
It’s safe to say that I’m going to be sore AF tomorrow. I can already feel it. Moving bags of rocks is one hell of a way to spend a beautiful Sunday. Despite my aching back, it looks pretty awesome so far. We’ve got 15 more bags to pick up tomorrow and we’ll be done with the gravel part.

Oh, in other news… We learned that under no circumstances should you attempt to burn railroad ties scraps. Being that they are treated with creosote they’re basically the equivalent of burning a tire. So, if you’ve got scraps… be sure to dispose of them properly. The more you know!

Alright, that’s enough for tonight. All I want to do at this point is eat tacos and die. Well, not really die… but basically just be still and do my best not to resist gravity.

DIY Ribbon Microphone

Here’s the latest addition to my microphone collection. A sweet sounding ribbon microphone that I assembled with my own hands. I’ve been wanting to build my own microphones for a while now but was always putting it off because I didn’t know where to start. However, this semester I was given the opportunity to “learn a new skill” of my choosing. Being that I’ve never built a ribbon microphone, I wanted to take on a project that walked me through the process. I ordered this particular kit from this website. I learned a lot from this experience and now I have a better understanding of the entire process. I have already compiled a list of improvements that I hope to implement in my own version. I will be developing my own ribbon microphones in the very near future.

DIY Ribbon Microphone

microphone

In my TCOM 631 production class we were given the option to either complete a series of software tutorials or learn a new skill. Being that I’ve been on a bit of a DIY electronics kick as of late I wanted to try my hand at  making a ribbon microphone. I’ve never built a ribbon mic before so I decided to start with a DIY kit in order to eliminate unnecessary complicatons.  I ordered my DIY ribbon microphone kit from DIYRIBBONMIC.COM and it arrived today. I plan on assembling this bad boy in the next couple of days.

Workin’ in the Workshop

I spent the majority of my morning and early afternoon soldering up some XLR cables and watching episodes of Futurama on Netflix. I have a ton of cables to make before I will have enough to properly test my new mobile recording studio. I am planning to test it out this coming Friday at Doc’s Music Hall. The plan is to record When, Not If’s last performance at Doc’s before they move down to Austin, Texas. It was only after I decided to debut it on this particular Friday that I realized it was going to be Friday the 13th! What are the odds that it was going to come down to that particular date? Ah well, it’s a good thing I’m not superstitious. Now where in the hell did I put that 4-leaf clover?

DIY Shelf

New shelf

I decided that I needed some more storage space in the studio so I went out to the garage and fabricated myself a new shelf for some of my stereo components. It’s nothing fancy but it’s suuuuuper functional and that’s really all I care about. Anyway, here’s what it looks like when it’s all loaded up and stuff…

New shelf fully loaded.

Bass Trap Construction

This year I spent my spring break building bass traps for the studio with my good friend, Ian. While most of my friends were tanning on sunny beaches, my week was comprised of whiskey, meat, and power tools; albeit not at the same time. When all is said and done expensive tans that will fade but my new bass traps will last for a long, long time. The project is still not 100% finished. I am still waiting on my fabric to arrive so that I can stretch it over the front of these traps to make them more visually appealing. I purchased 25 yards of barn-red burlap to use as a finishing material so that it would match the current color scheme in the studio. They are going to look AMAZING!

Bass traps can be expensive due to their size and weight… Shipping costs can be pretty extreme. I decided that it was in my best interest to build my own based on my needs. I enjoy working with my hands and saving money so it seemed like a good fit. Also, by building them myself, I can be sure of the quality of my traps and will be able to make future adjustments if need be without having to contact a manufacturer. All in all I am building 9 bass traps for the studio but I was only able to finish 7 of them in a single week.

I’m still rather sore from the 7 continuous days of the physical labor that went into creating these things but it’s a good kind of sore. I mean, it wasn’t like I was working at a balls-to-the-wall pace for the entire week. I made sure to schedule some rest and relaxation as well. Ian and I made it a point to have a cookout every night of the week. We ate exceptionally well… Oh, and I made sure to document the feasting with my iPod so that I could share it with all of my friends that were busy posting pictures of beaches in a future post.